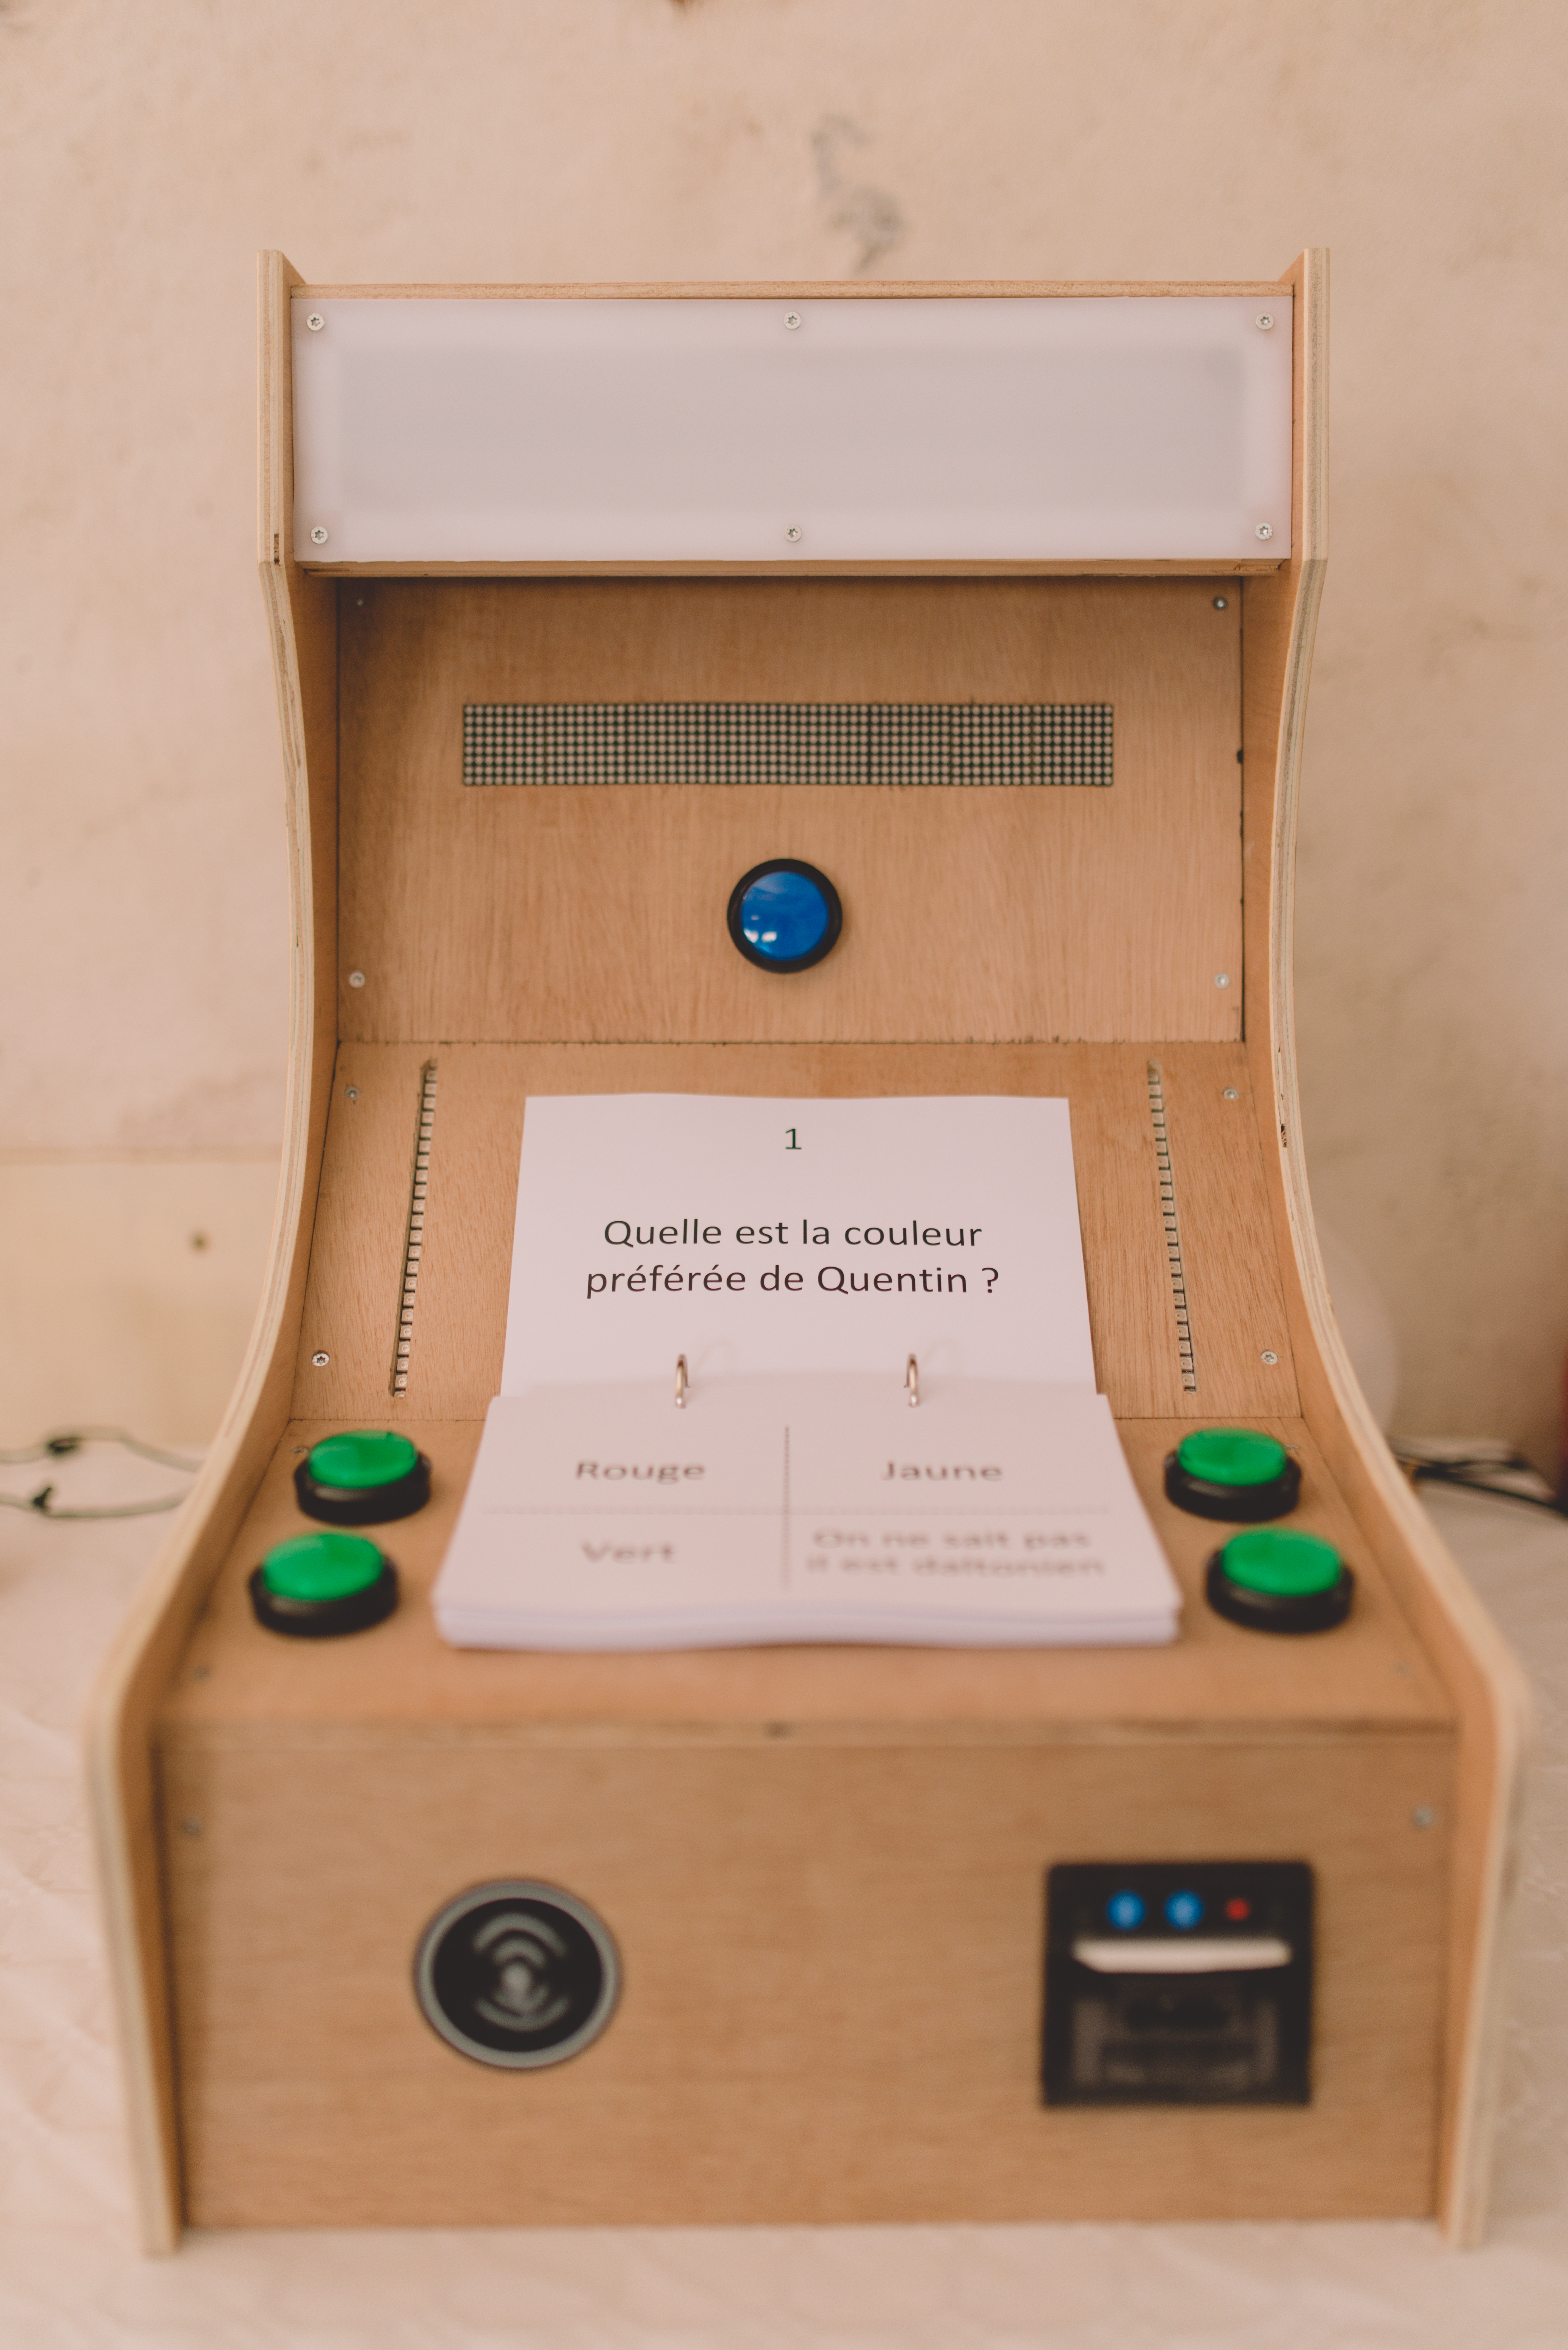
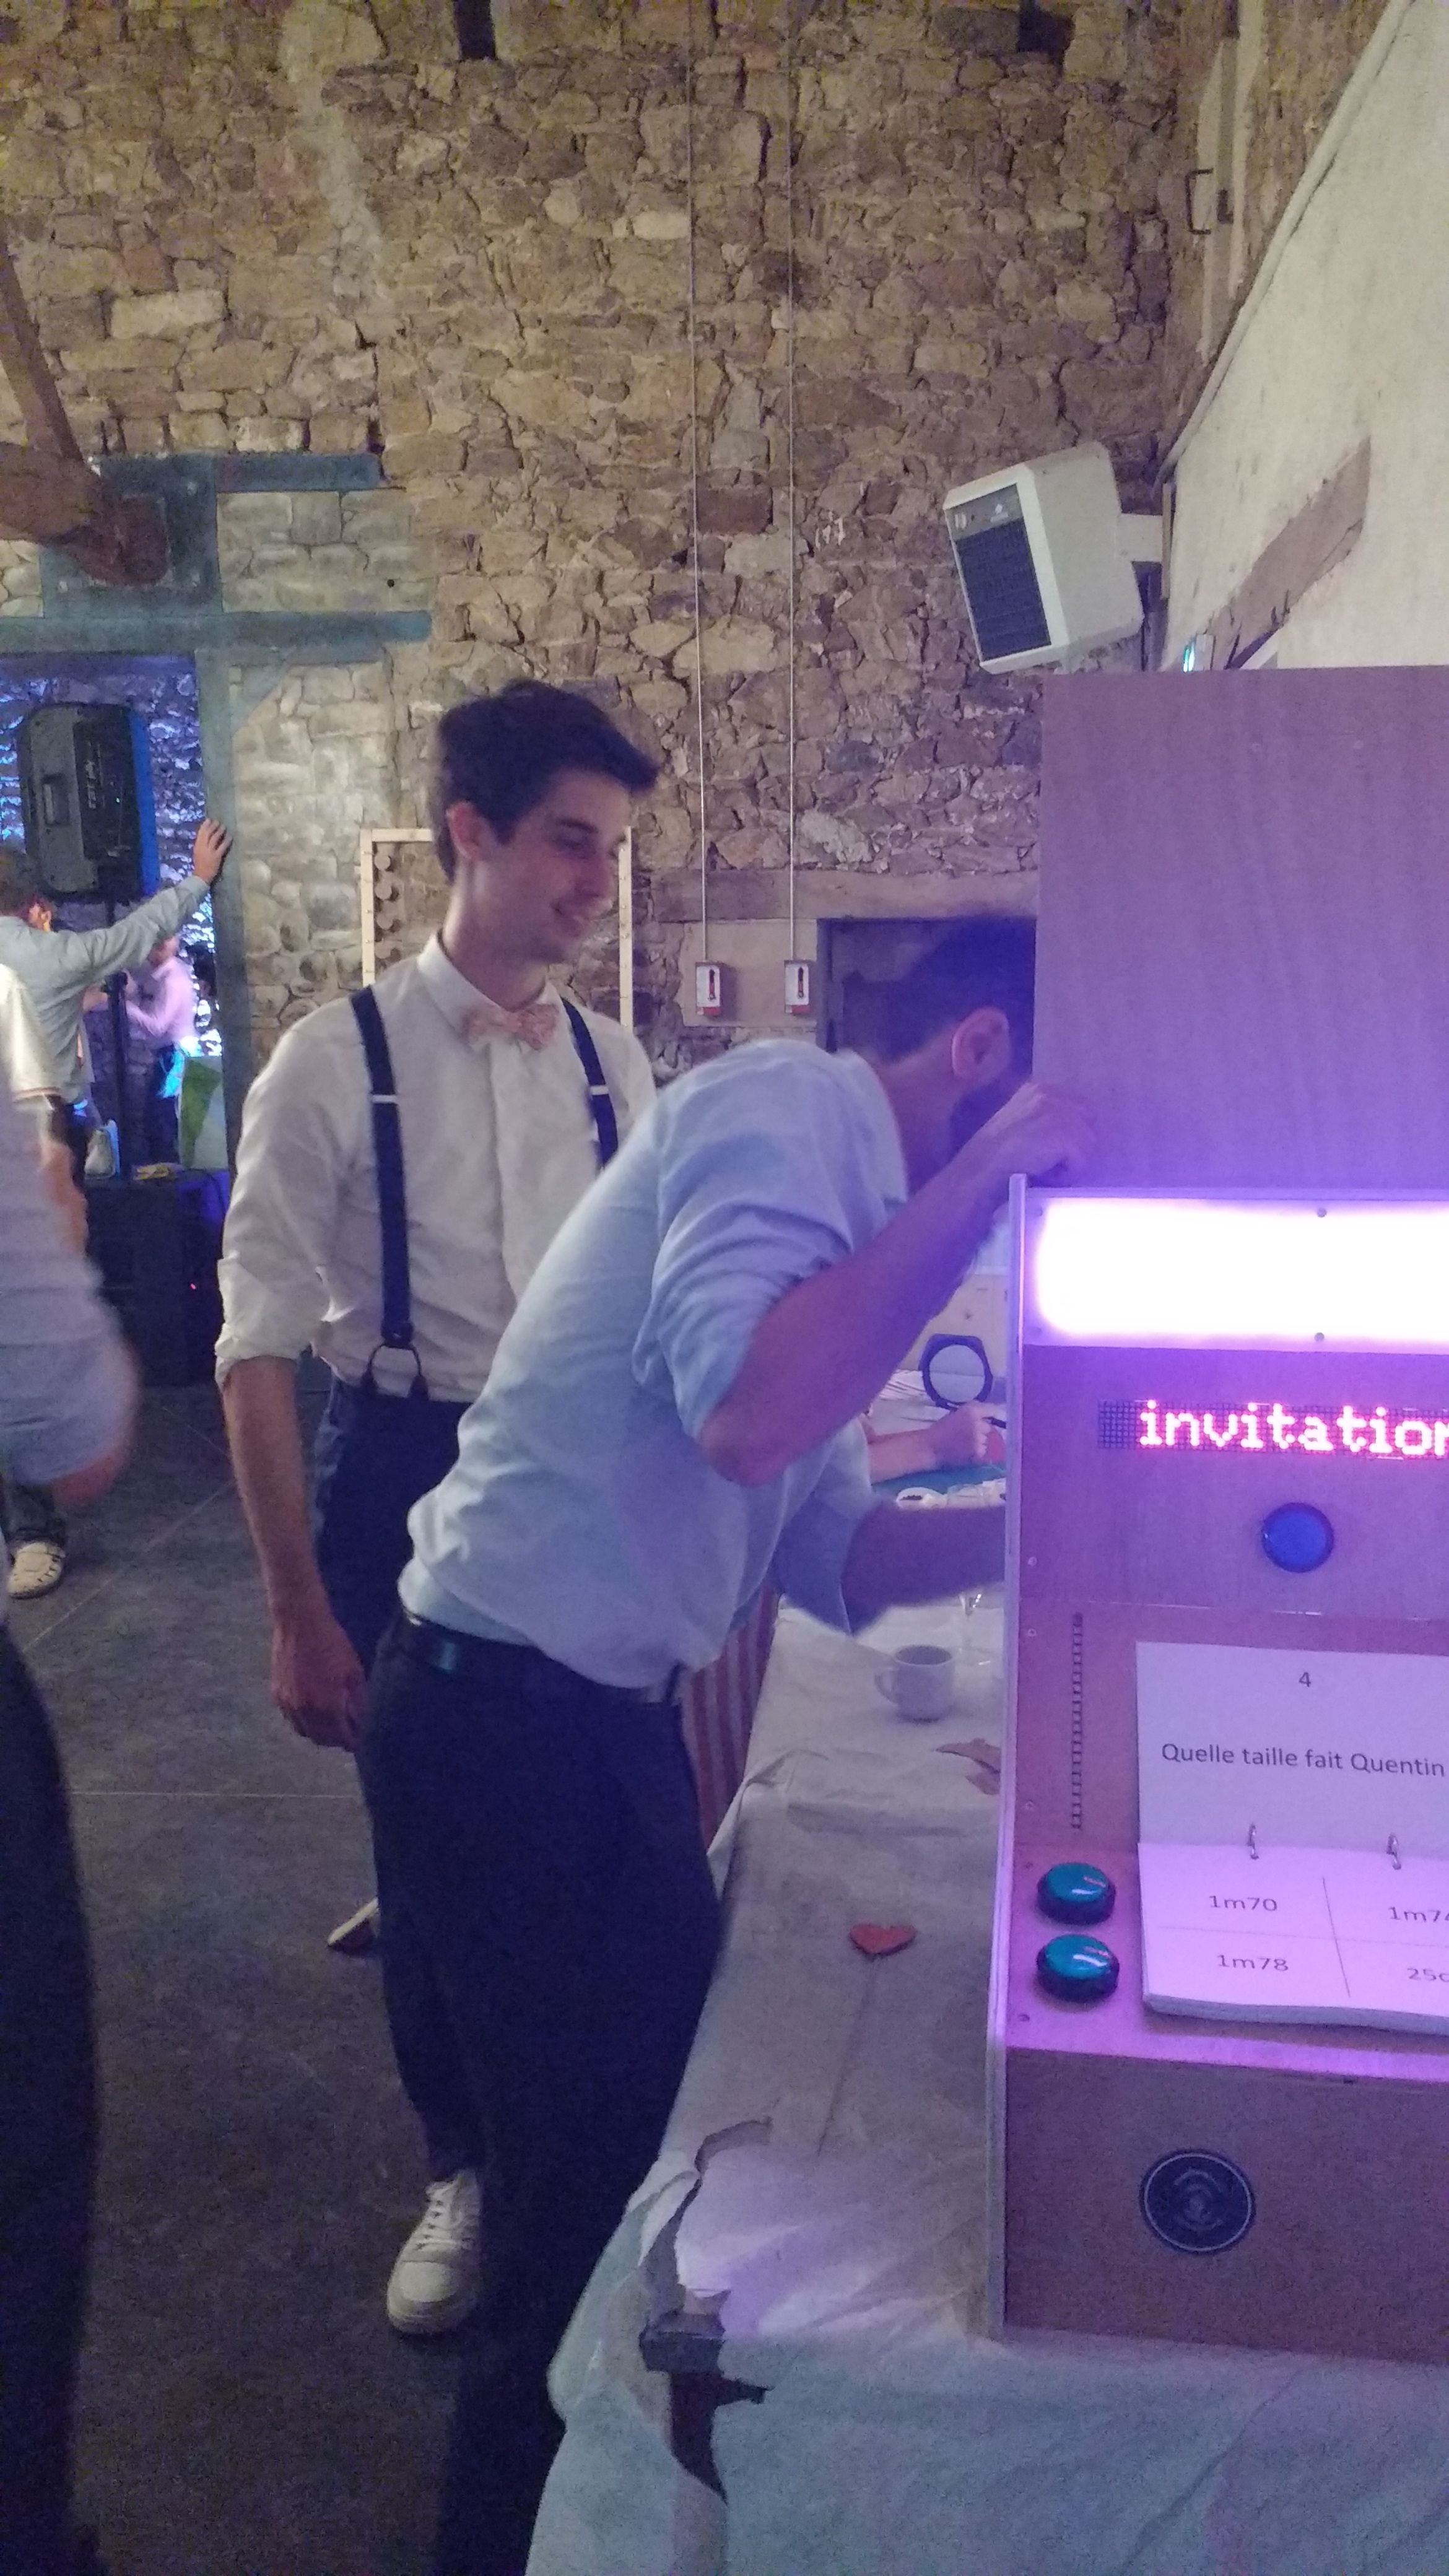
This year for my wedding, I decided to create the “Machine à Questions”, or the quiz Box.
My wife and I wanted to make a fun activity for our guests. Something surprising and leaving them with a good memory they will remember. The core idea was to create a quiz about our couple but without using high-tech like an Ipad. We find it too standard, and that is just not who we are. That’s why I bet with my wife that it would be possible to create, within the few remaining months, a physical device with a few electronic components to make this quiz.
That was a great challenge since I never tried to build such an electronic project on my own. The previous electronic project was a robot sumo around 2010 as a student project in a team of five persons.
Planning and definition of the machine
The planning was very short with just 3 months left before the wedding. So I didn’t have a lot of room for trial and error. Moreover, I know that the delay for delivery of the electronics could take up to one month, so I should define quickly a list of all the features I wanted. Then I could design the circuit and software.
The aims of the machine are pretty clear. It needs to be:
- appealing
- surprising
- easy to use
- sturdy
- not so high-tech
To comply with these traits, the machine will look like an old arcade game machine, but without a big monitor. Instead, the instructions are given by a scrolling matrix LED screen (the one you can find in a bus). The user can interact with arcade buttons and the quiz is simply a bunch of sheets in a workbook in the center of the machine. The big surprise of this machine is that each guest will be able to identify himself with an RFID tag and get a receipt printed by the machine after the quiz. According to the score, the ticket will be either positive (e.g. you win a free lunch with the newlyweds) or negative (e.g. you have to send a postcard to the newlyweds in 1 year).
To make it appealing, I can rely on the arcade look and some lights. Everybody knows that some shiny lights and led strips will catch the eye. On top of that, I also wanted to add some sounds with an MP3 module.
Electronic design
The electronic is based on an Arduino with multiple components:
- 1x RFID reader to identify the current player
- 8x64 dot matrix display (x2 4-in-1 displays) to give the instructions
- 1x arcade button to start the game
- 4x arcade buttons, one for each possible answer
- 2x led strips to show a timer during the quiz
- 1x thermal printer to print a receipt with the score
- 1x speaker with an MP3 module
- some other led strips to illuminate the machine
As I didn’t know exactly how light would be my firmware, I chose an Arduino Mega with more memory. It is not the cheapest but it is for a proof-of-concept but it is the most adaptable. With this board, I will have plenty of room to link all my components, without worrying about using multiplexers.
The component wiring is not very complicated. I will have the Arduino Mega as the main unit, and all the other components will be connected to it as peripherals.
Without going too deep, the communications between the microcontroller and the components will rely on: SPI for the dot matrix display, the LED strips and the RFID reader; TTL for the thermal printer and the music module.
All the other wirings are for the power supply or the digital readings of each button.
Firmware development
Like a lot of other machines, the quiz box is a finite-state machine. A canonical transition sequence could be as follows: when the machine is Idle, it should blink like a Christmas tree and scan for a new RFID tag. Then if the RFID is OK, the state becomes Player Identified, and the quiz can begin if the start button is hit. After that, the state is New Game and after 5s, it becomes Question which randomly chooses a question and waits for the answer. This state loops on itself 4 times because the quiz has 4 questions per game. After that, the Score state is reached and the machine should print the receipt with the score. The final state is Idle to be ready for a new quiz.
The previous sequence can be more complex with other states like Player Has Already Played or Timeout if a player takes too much time to choose an answer.
To program it, I had to take a deep breath and do it in C++. But I am not fond of programming in C++, even less with the Arduino framework. In addition, embedded programming is a specific way to develop, that I don’t practice sufficiently to be comfortable with. Reminder, I daily program in Scala or Python. So this task was a bit tedious, but I managed to reach my goals.
The box build
The arcade box was built with plywood and screws bought at the local hardware store. I didn’t take pictures during the making because I was in a hurry: the box, the electronic wiring and the integration part (which is often the longest in a project) were done in the last days before the wedding, six to be precise…
Here is a picture of the machine taken on the day of the wedding:

The wedding
During the dinner, each guest had a ticket with their name on it and an RFID on the back. I explained to them that there was a game available with these tickets and that the machine would be available during the party.
I was not so confident about the machine for these several hours of usage. Moreover, I knew that the thermal paper roll inside the printer was too short so I needed to keep an eye on the machine to replace it if necessary. The good part of it was that I watched how my friends and family were using it. I was very happy to see they all were interested and amused by this surprise. They wanted to get a high score. Some tried to corrupt us, but more often teams formed to maximize knowledge about our couple. It was really fun to see these emerging behaviors.
Some guests asked me how I built this and how much time it took me. But I was so involved in it that I don’t know. I guess it is something around 70 hours. You can understand the relief to see it working so well. As I used the non-volatile memory of the Arduino to know who had already played or not for the program, I was surprised to see that over 125 quizzes were played (out of 130 max). It was a huge success!

To let you have a better idea of the game, here is a video of the usage of the “Machine à Questions”: