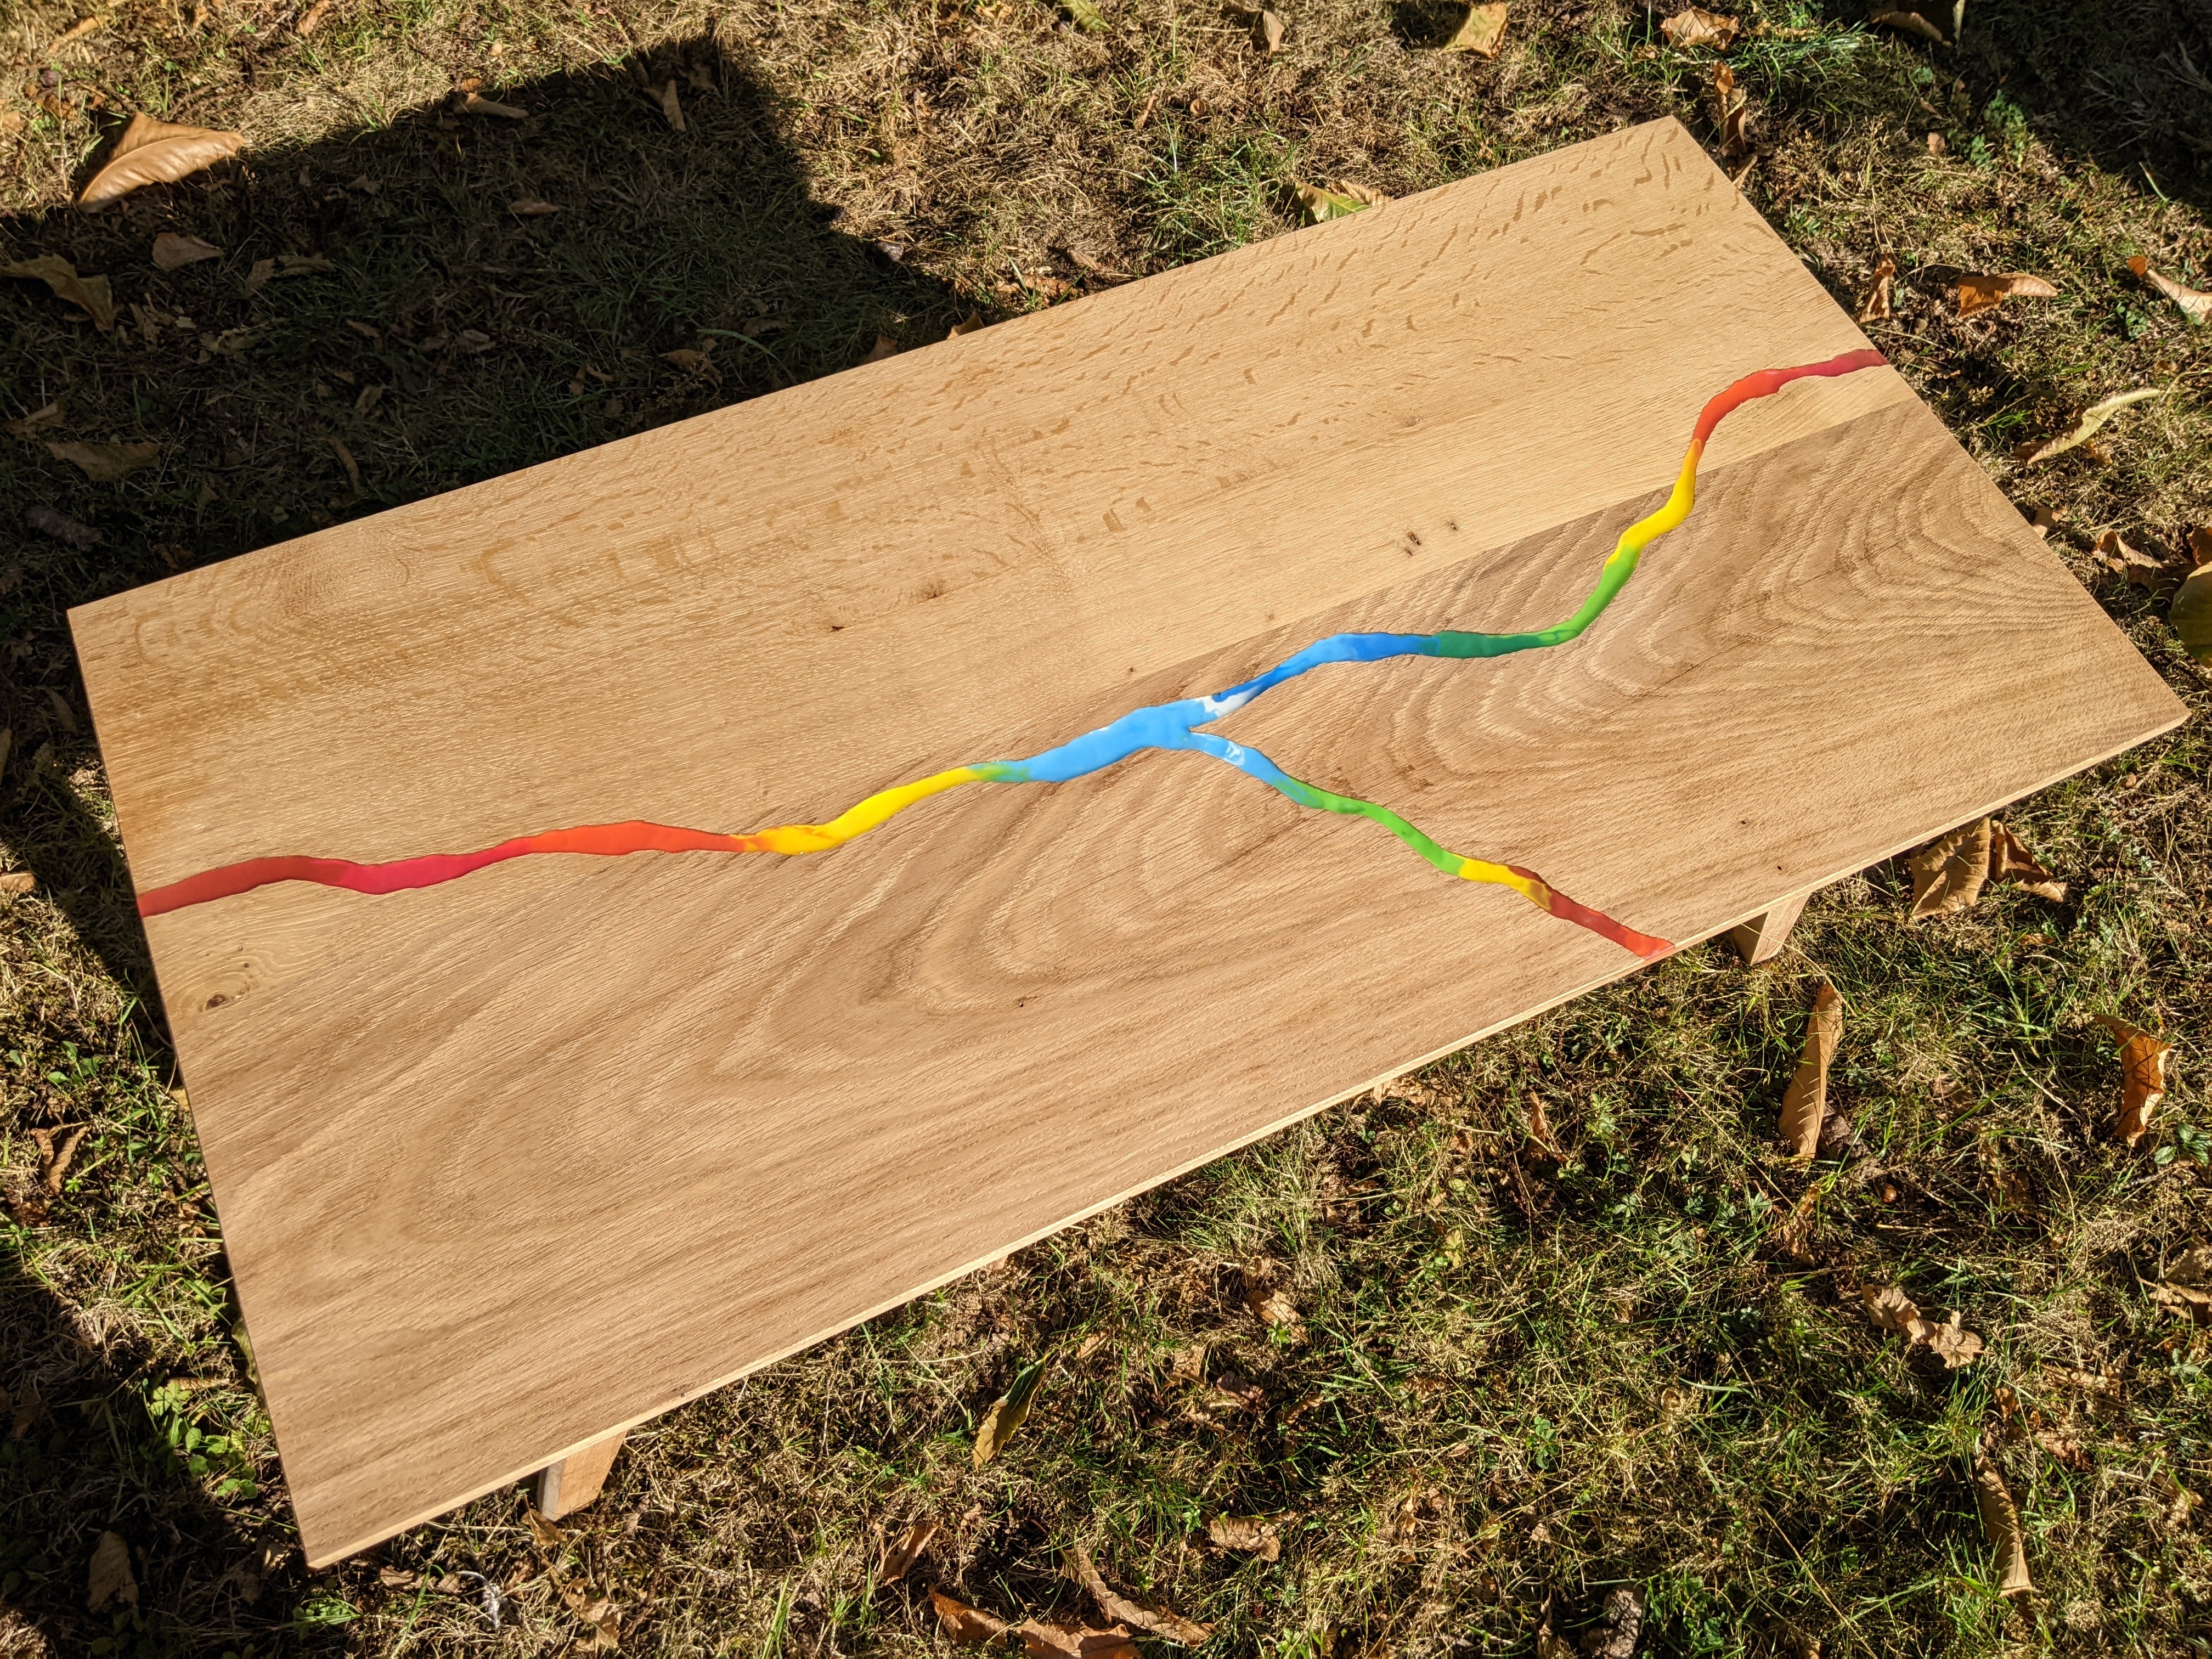
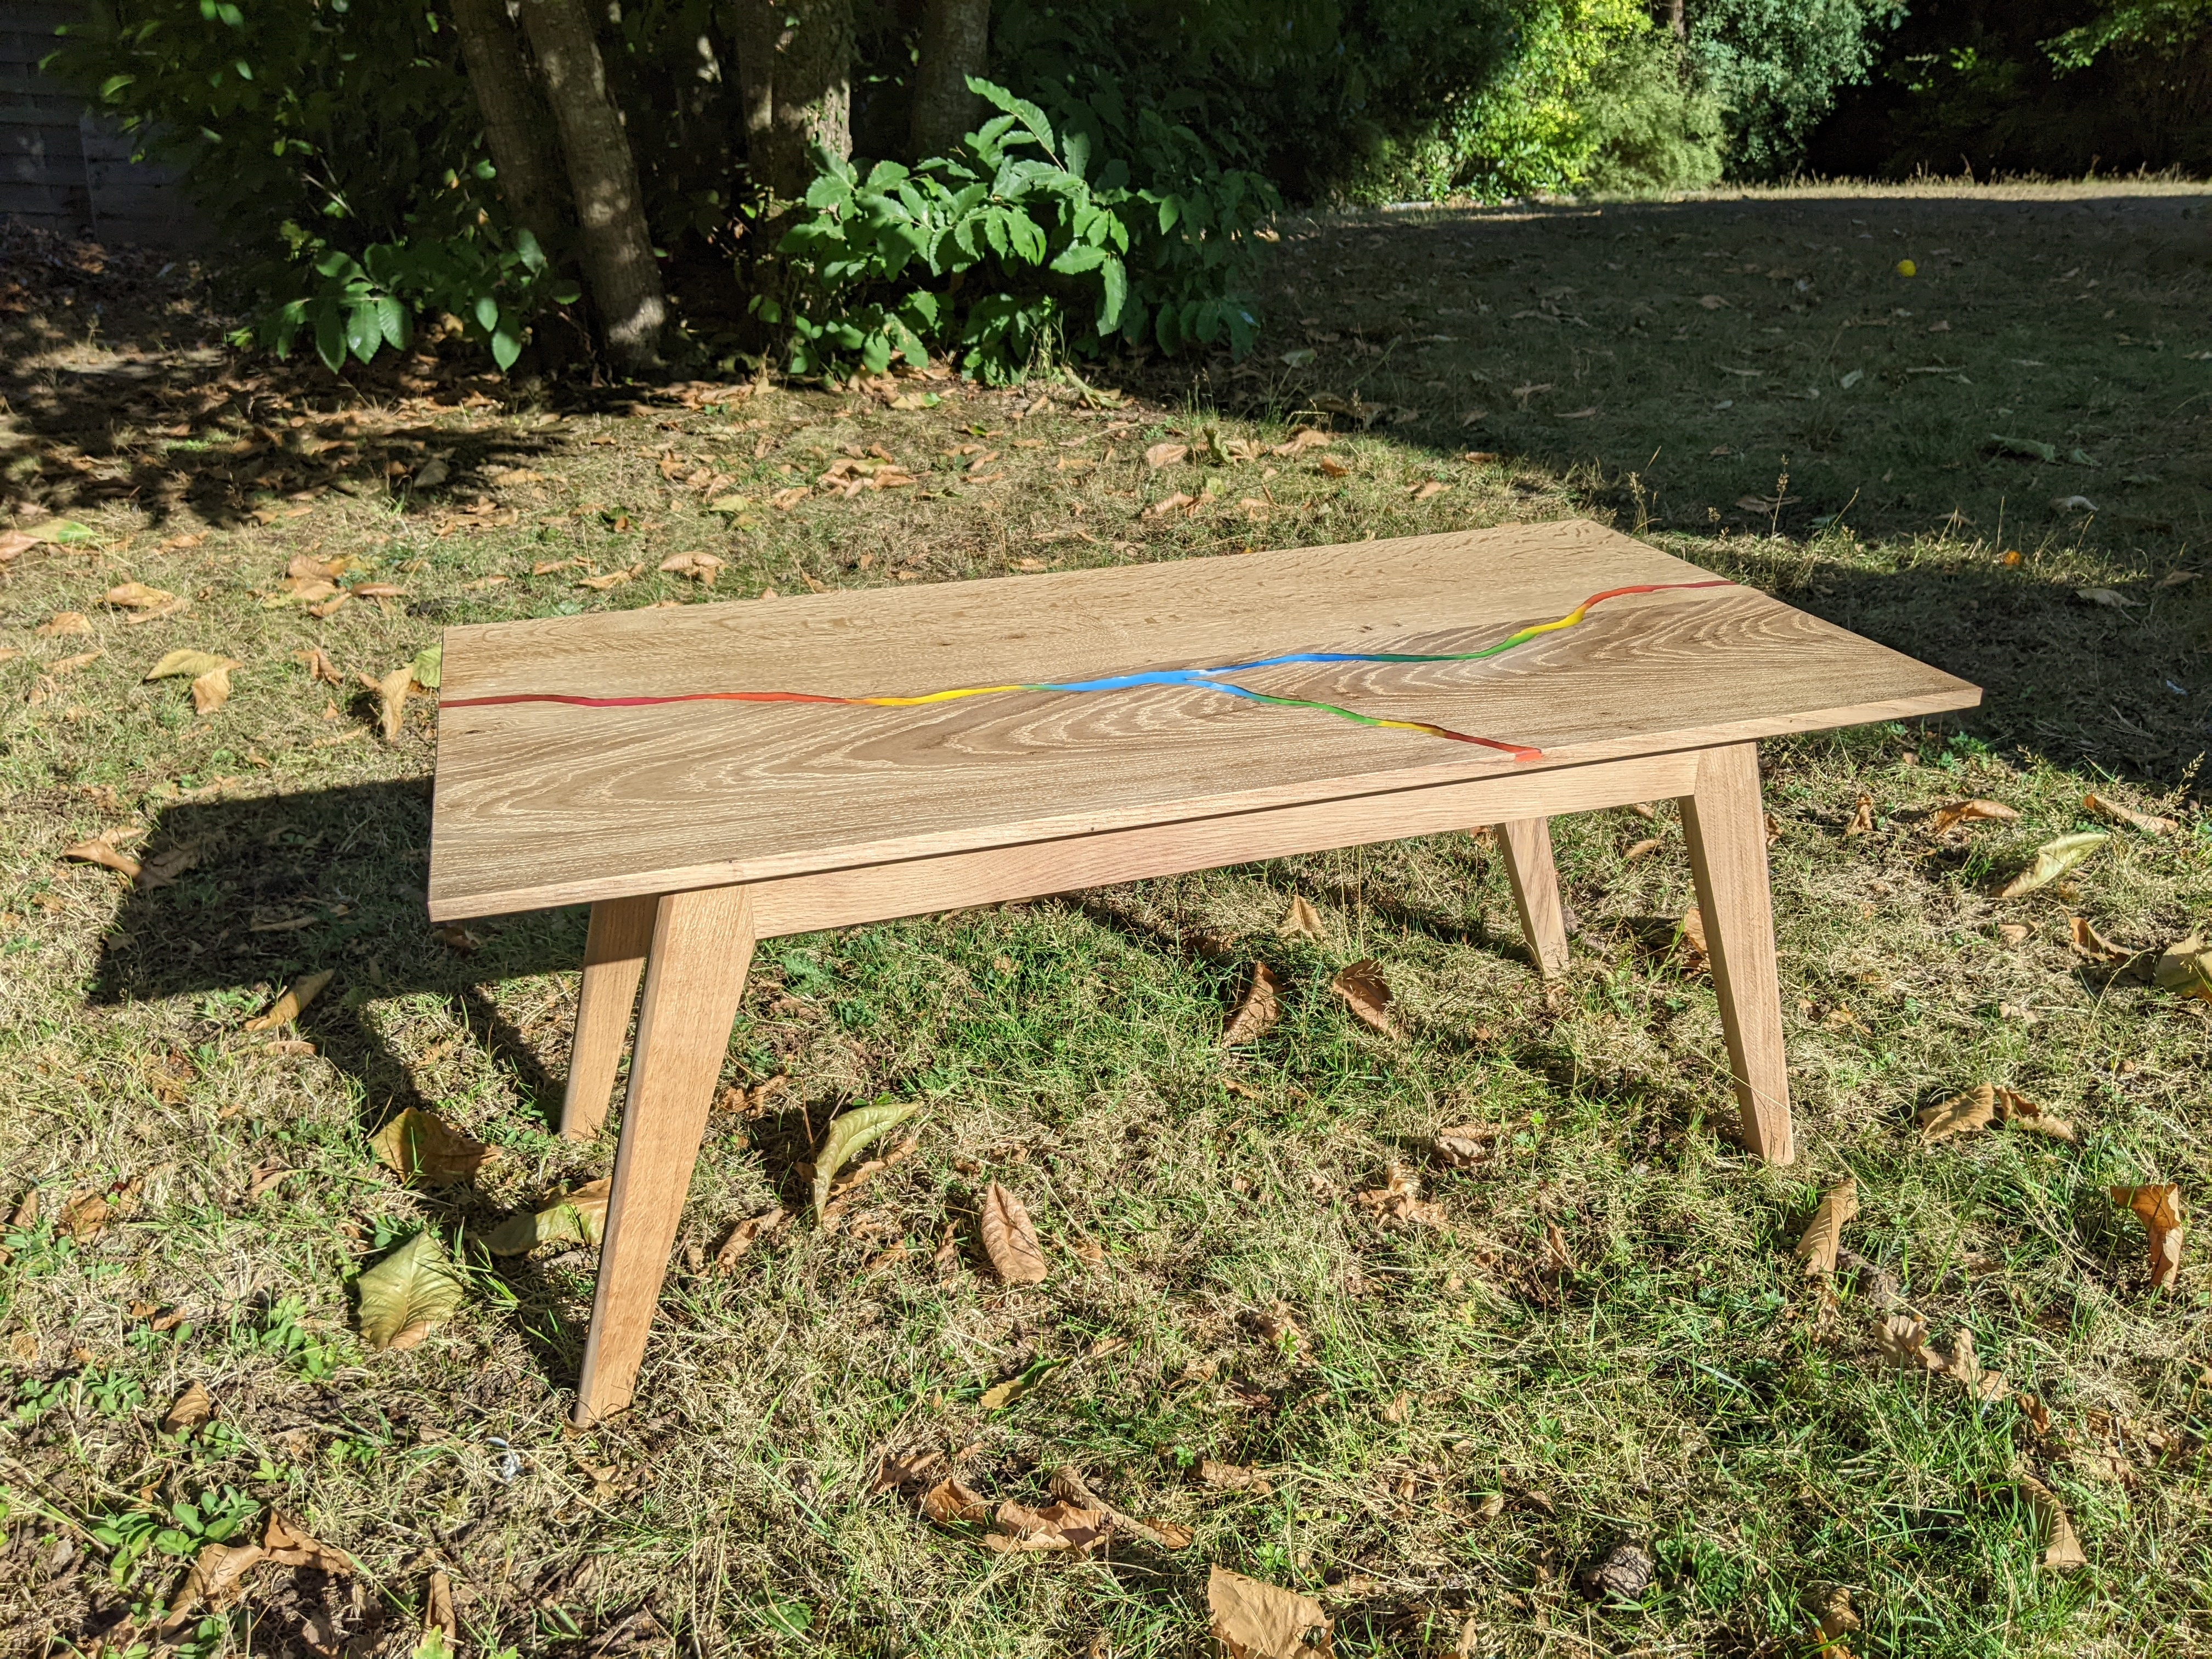
My sister wanted to get a new coffee table made of wood. As I like to work with this material, we thought that it would be a great idea to build it by ourselves.
To start the project, we found a used rustic coffee table to sell in my town. And to spoil you right now, here are two pictures: one of the table before and another after the rework.

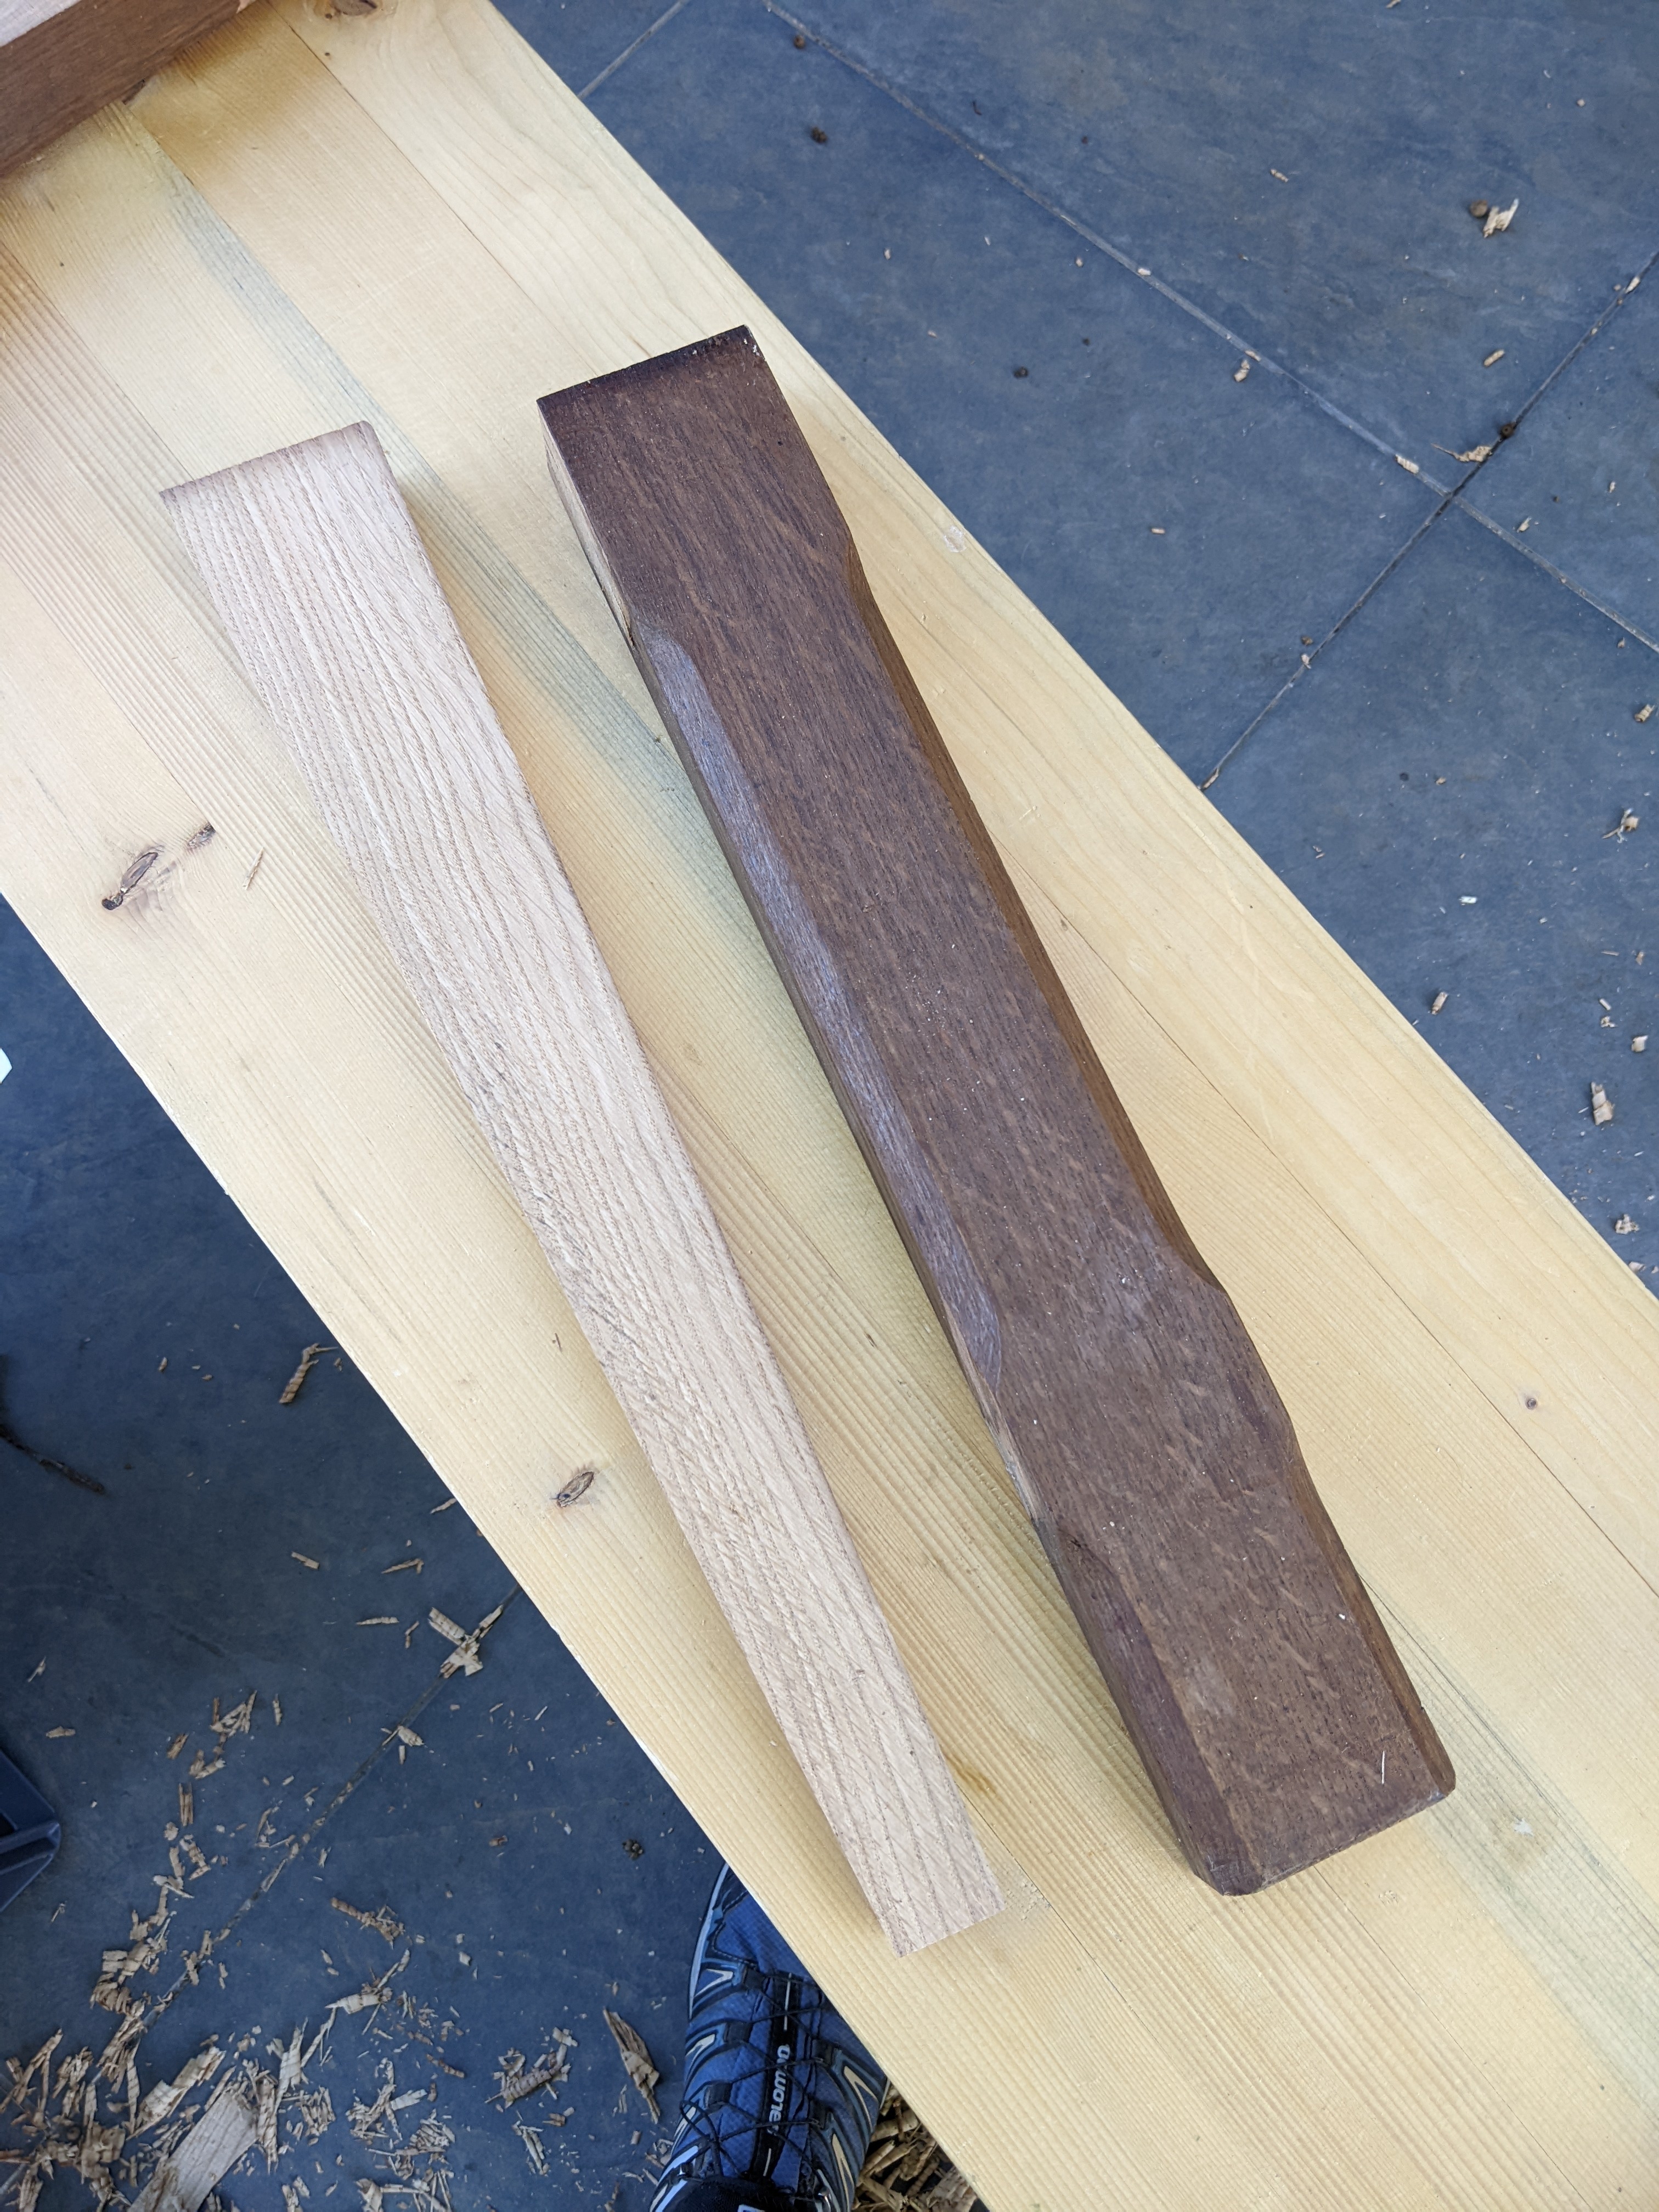
So as you may notice, some materials vanished between the two versions. That is why we chose an oak table with a thick top and legs. The legs were assembled with glued tenon and mortise. These assemblies should be considered while resawing to be sure to completely get rid of them.
A key idea of the project was to add some colorful inlays to the top. We saw a youtuber using a technique with crayons and epoxy (Foureyes Furniture). My sister wanted to try it on her table. So we bought everything and catch the router. We discovered that the fusion point of our crayons was difficult to manage without burning the wood with our heat gun. But after some tries on scrap wood, we were ready to do it on the top.
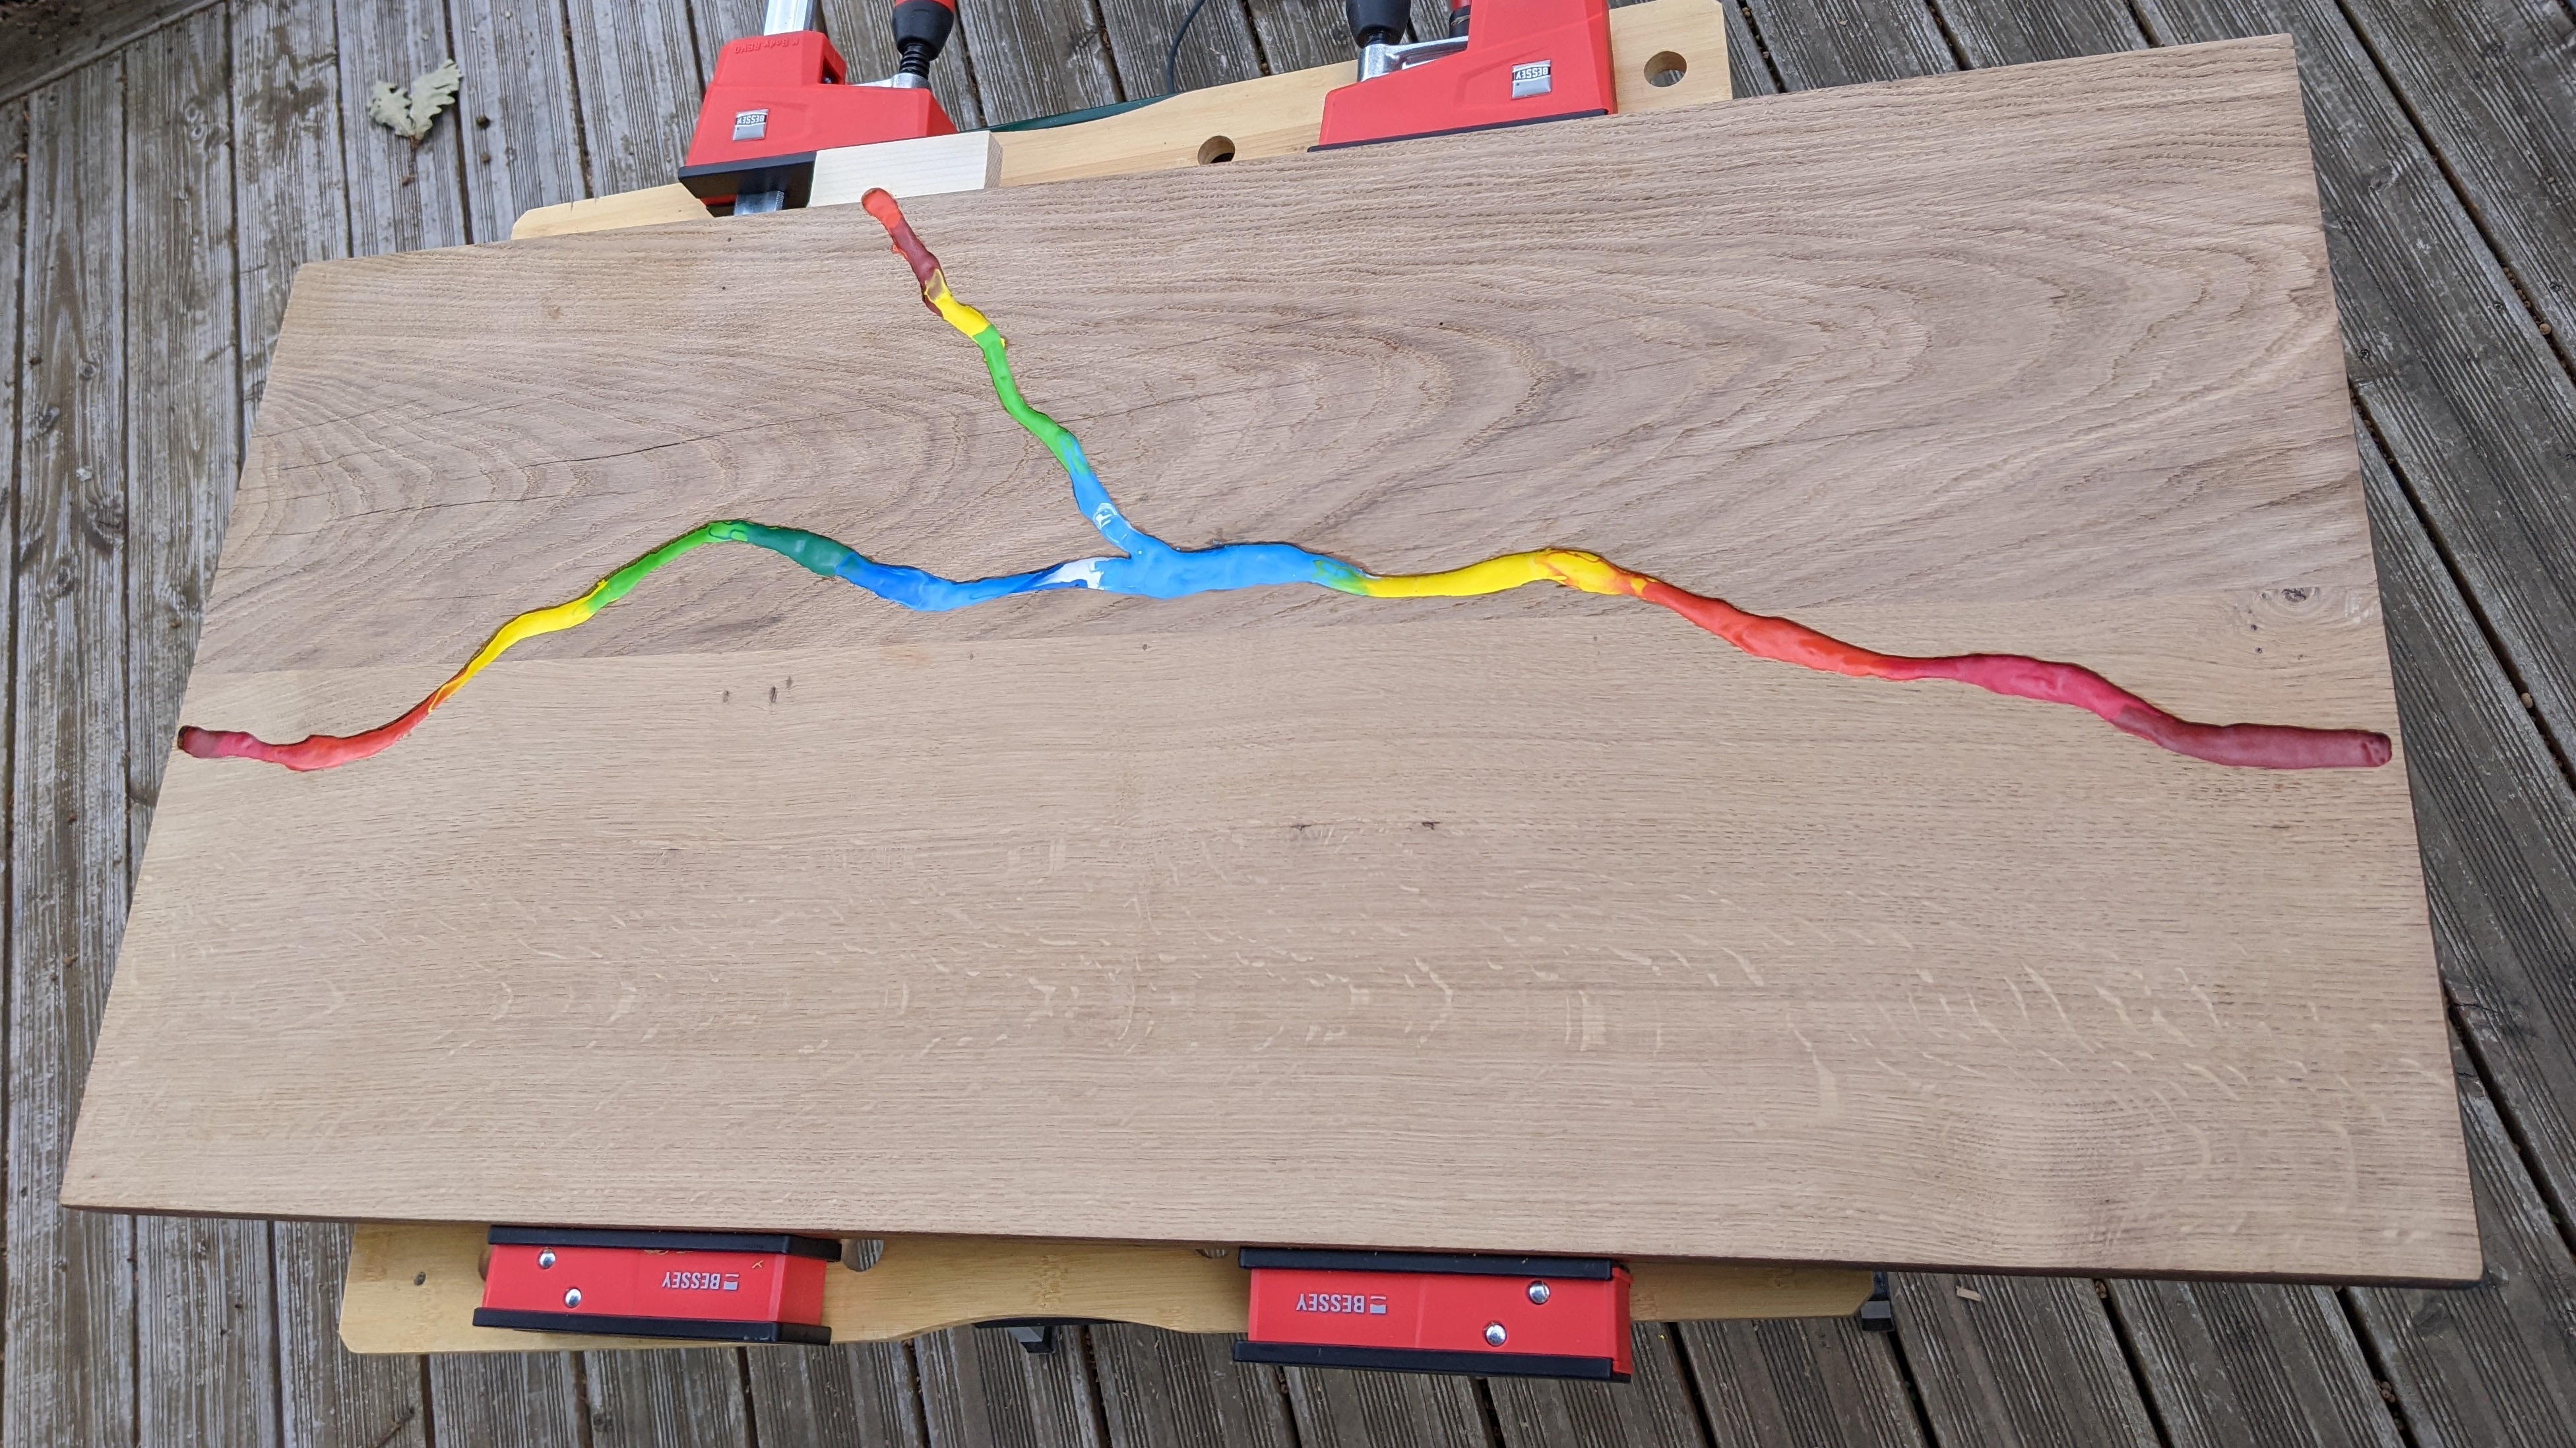
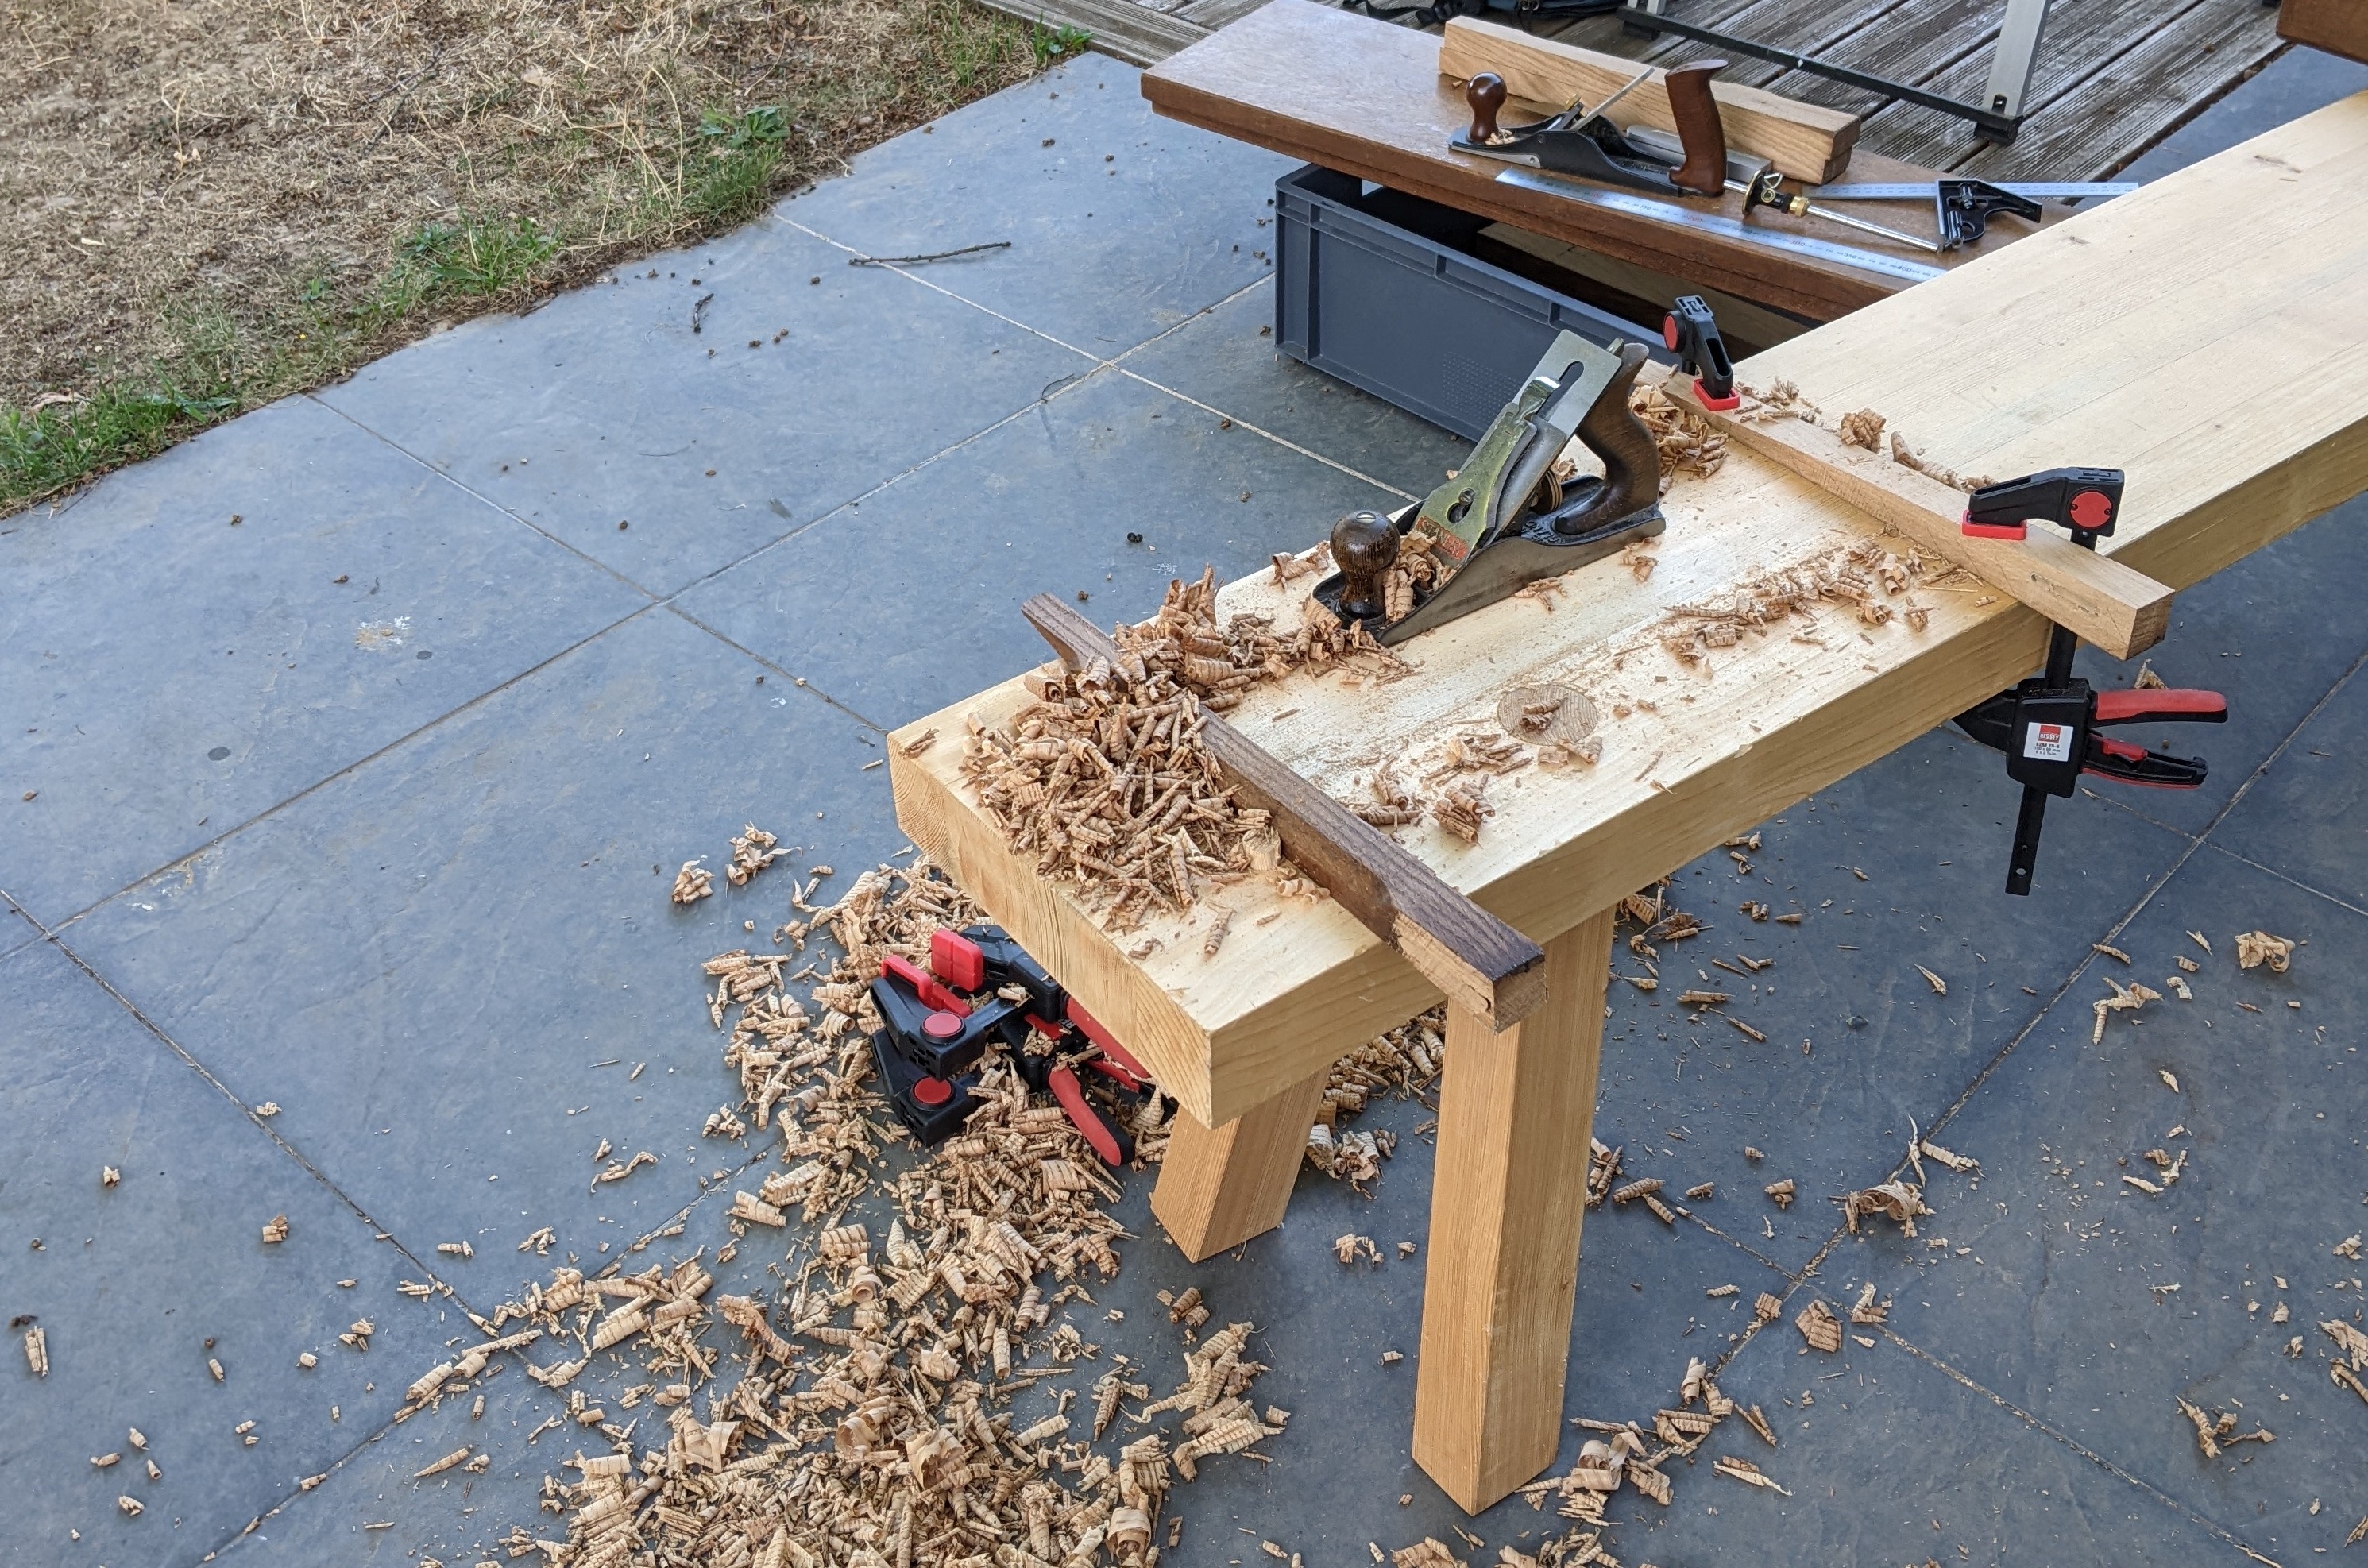
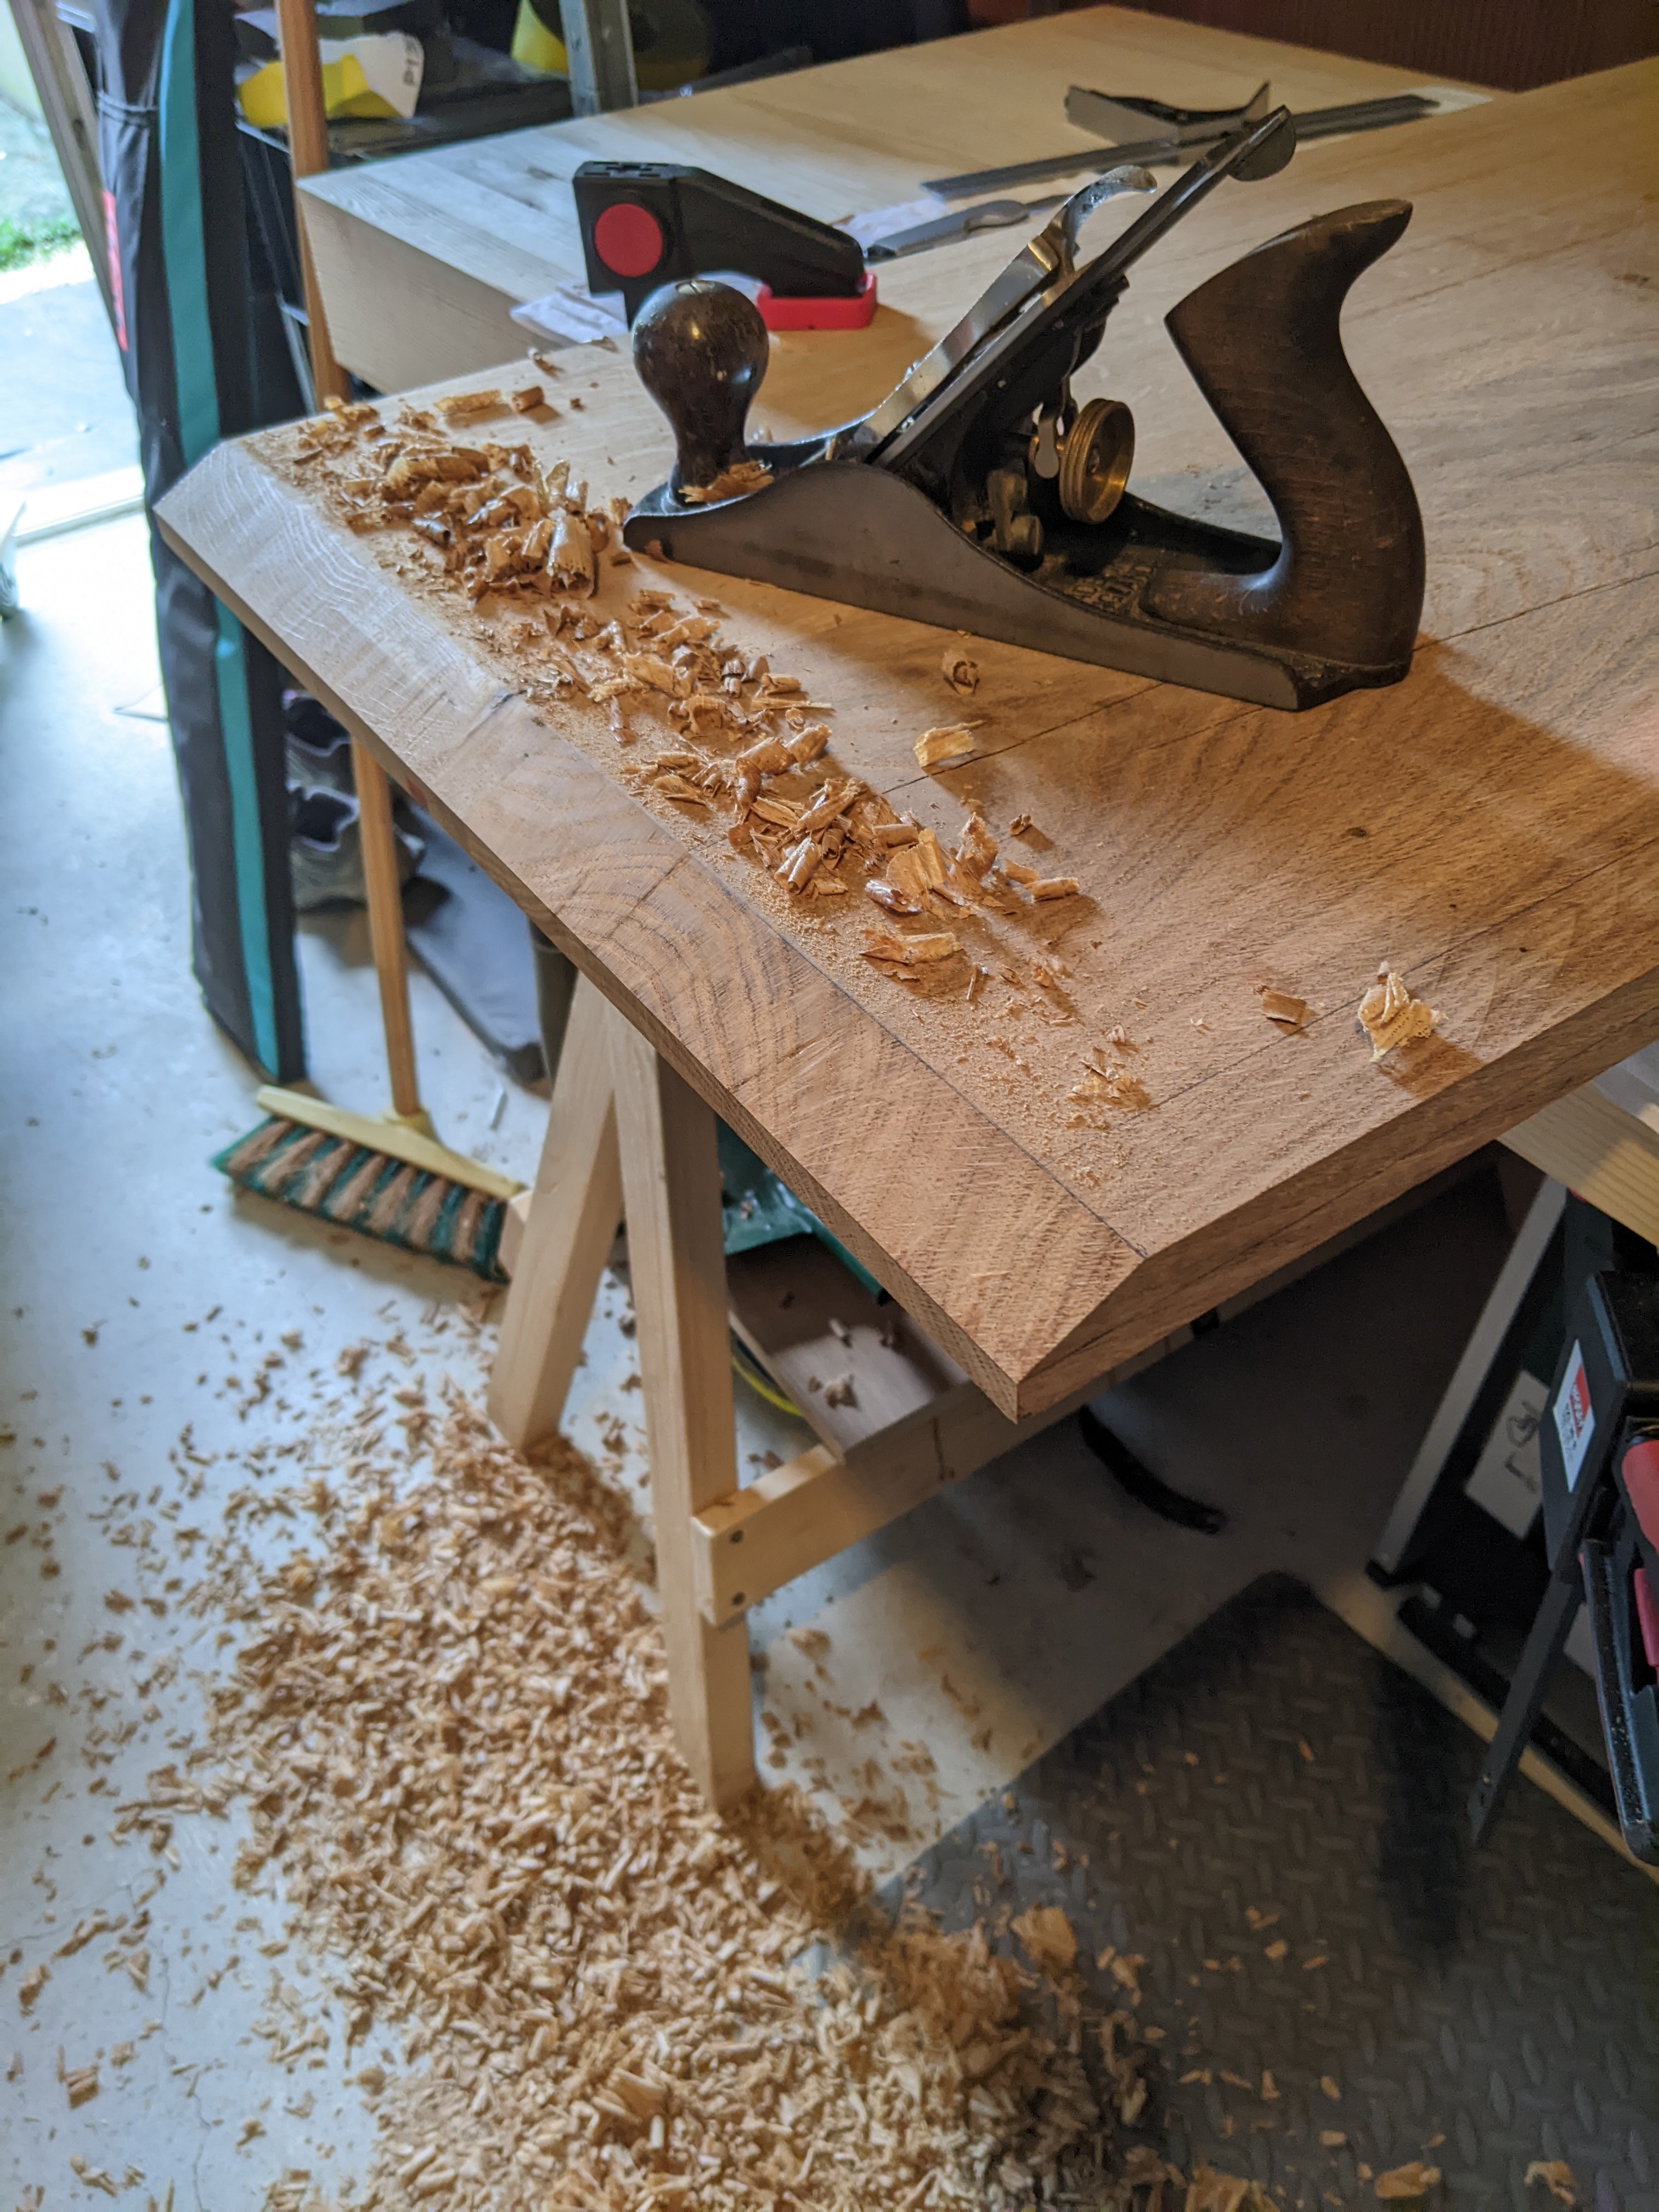
The result was really nice. To seal it, we need to pour epoxy over the crayons and sand it to flatten it. The top was chunky so I had chamfers on its bottom face to make it appear thinner. It was a great job for my handplane #4.
Finally, I assembled all the legs, the stretchers with my domino joiner and attached the top with floating pads to accommodate the movements of the wood. The wood finish was done with Rubio Monocoat.
