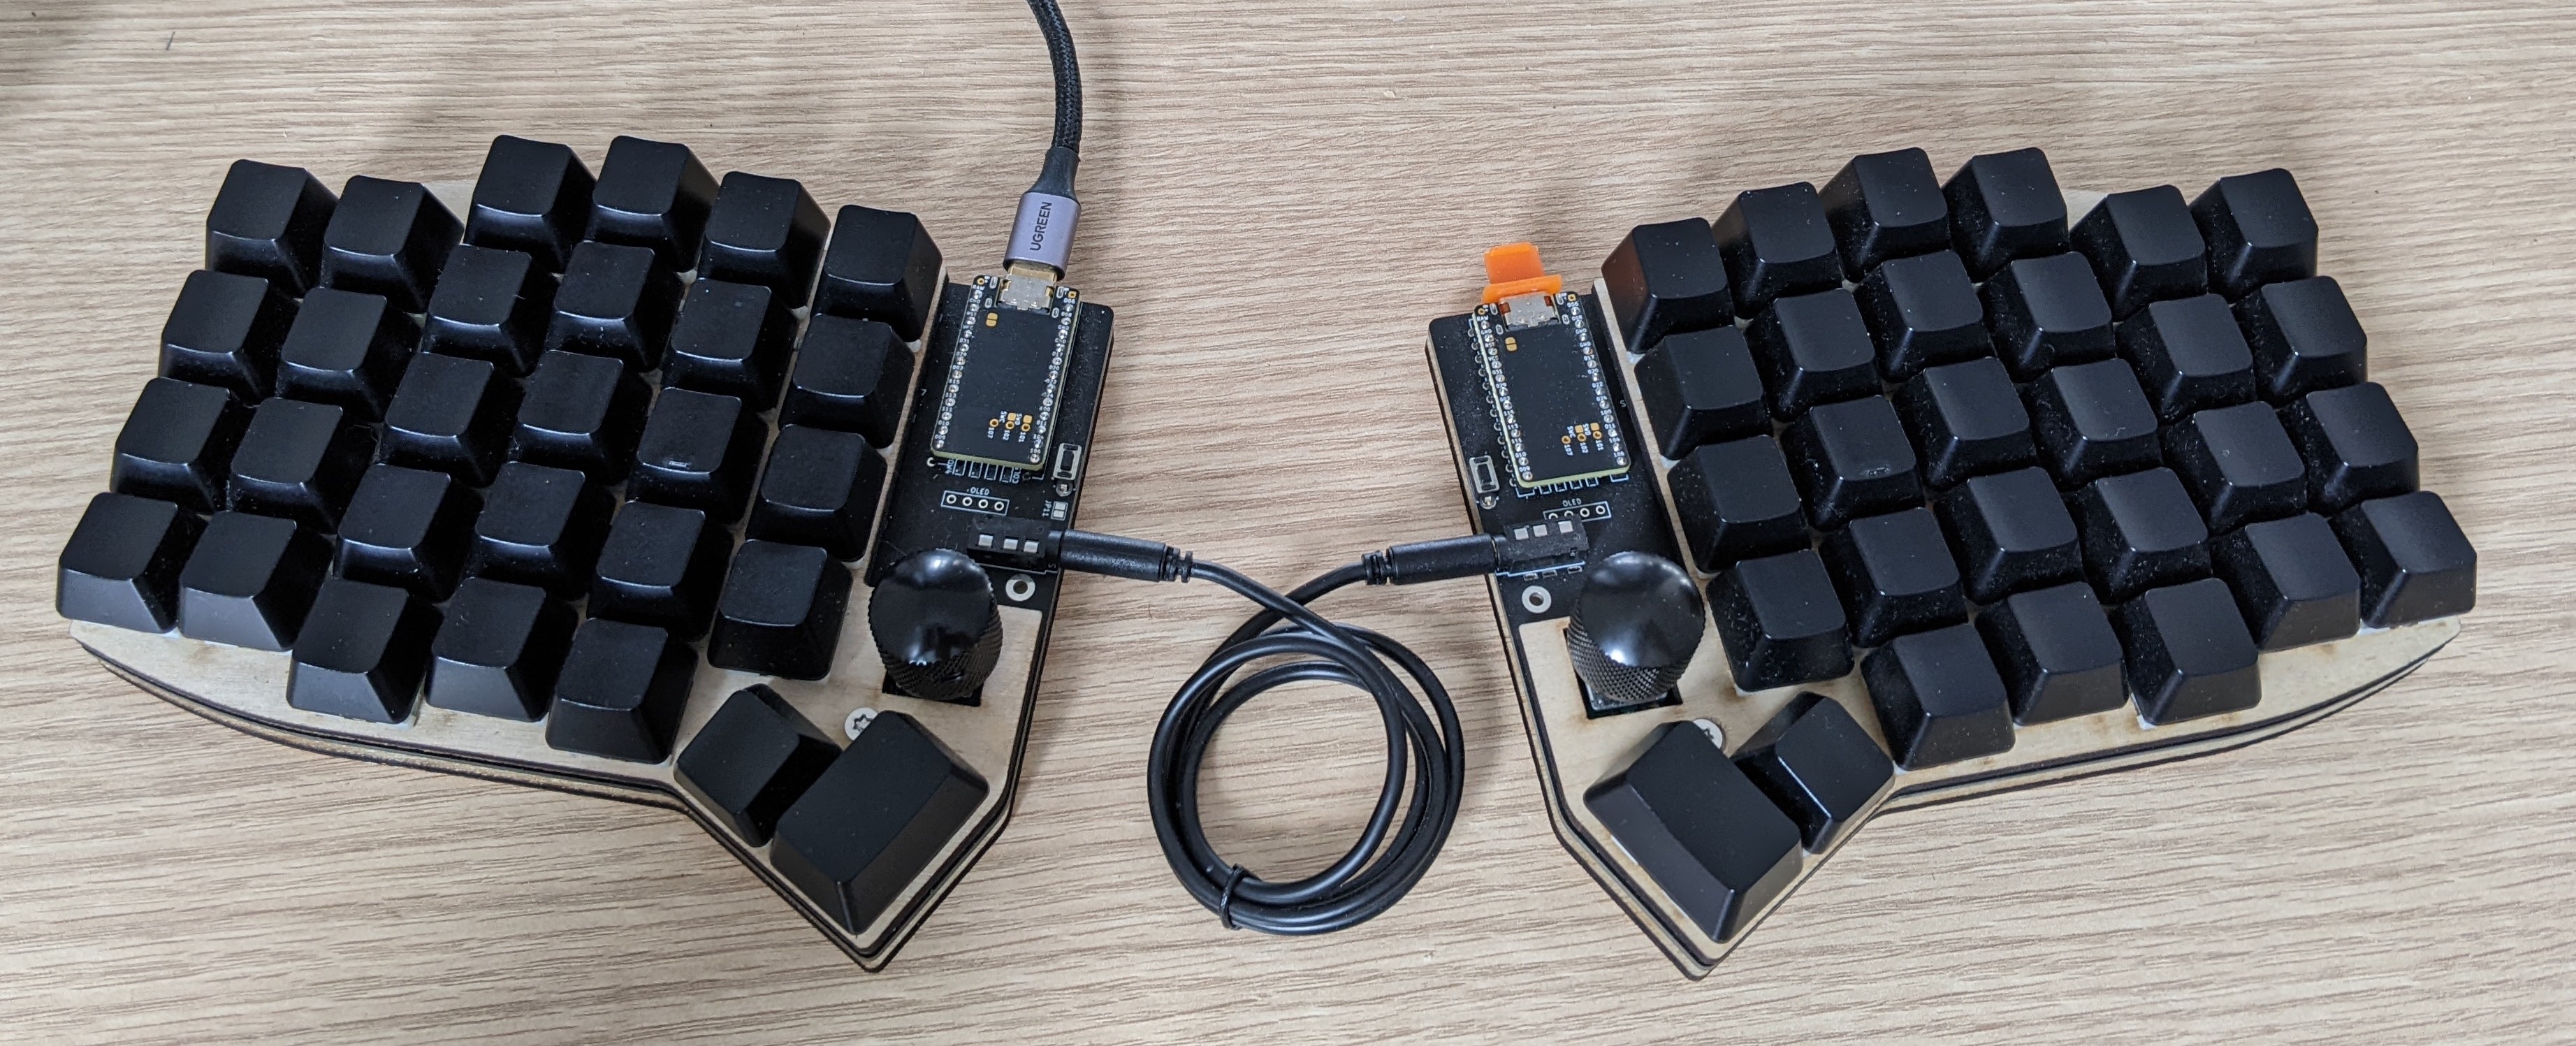
Instead of only working from home and being alone with my desk, I decided at the beginning of the year to be unfaithful to it and rent another one in a co-working space in Angers. For this new place, I wanted to have a nice desk setup because I don’t like working directly on my laptop when I can work with a monitor, a mouse and a keyboard.
I already had a monitor and a mouse I could use, but not a keyboard. So here began my hard journey. Actually, I just wanted to choose a new keyboard but it has not been as simple as it sounded.
Firstly, I have a mechanical keyboard at home, and I kind of like it. It’s not a game changer (really, I still lose as much as before), but it’s sturdy, it has never failed me, and feels good to type on. Secondly, I have a numpad on my home keyboard, but not on my laptop, and I don’t miss it. So I started to look at different sizes of keyboards. This was one step too many. I don’t know if you share this feeling, but each new piece of info led me to search for two others, and so on… I began to dive into an ocean of keyboard possibilities with an increasing number of aspects to take into account for my decision. It was quite a long process to make the decision so let’s jump directly to the result.
I chose a split keyboard shape1 which is quite weird at first sight, and still at second or third. But I found it quite ergonomic on paper, and the placement of the keys is directly thought given the hand’s shape.
I chose to have blank keycaps to properly learn how to type. For the moment, I type like a T-rex, with only 3 fingers per hand. But I hope that my unused fingers will give the others some rest.
I chose to build my keyboard by assembling all the components by myself on a prebuilt PCB. By doing this, I can select the type of mechanical switch that I want and honestly, I like using my soldering iron.
The components needed for the build are the following:
- 1x Kimiko kit (2x PCB + 60x diodes + 2x tactile switch + 2x TRRS jack)
- 2x nice!nano microcontrollers
- 58x MX mechanical switches (Gazzew Boba U4)
- 58x MX hot swap sockets
- 2x rotary encoders
- 1x keycaps kit
- 1x TRRS cable
- 1x USB-C cable
As you may notice, building your keyboard isn’t cheap, but it was really rewarding and I value more this keyboard than my previous ones. Note that despite the number of components, soldering them didn’t take too long. I just had to be focused and organized. By the way, masking tape is really helpful to keep the through-hole components in place and ease their soldering.
After that, the next step was to install plates that will sandwich the PCBs and support the switches. My lasercutter once again was very helpful to cut out these plates. I’ve used birch plywood and it gives a crafted look to the keyboard.
Thanks to the hot swap sockets, all I had to do was plug in the switches and then the keycaps. Then I uploaded the ZMK firmwares to the microcontrollers and here it is, the keyboard is ready!

The next step is to learn how to type with this new keyboard… Why didn’t I just choose a regular AZERTY keyboard?!?
the exact model is the Kimiko by Keycapsss, fork of the Sofle ↩︎